
How to Start a Vegetable Garden in 6 Steps
Start growing your own food with these 6 basic steps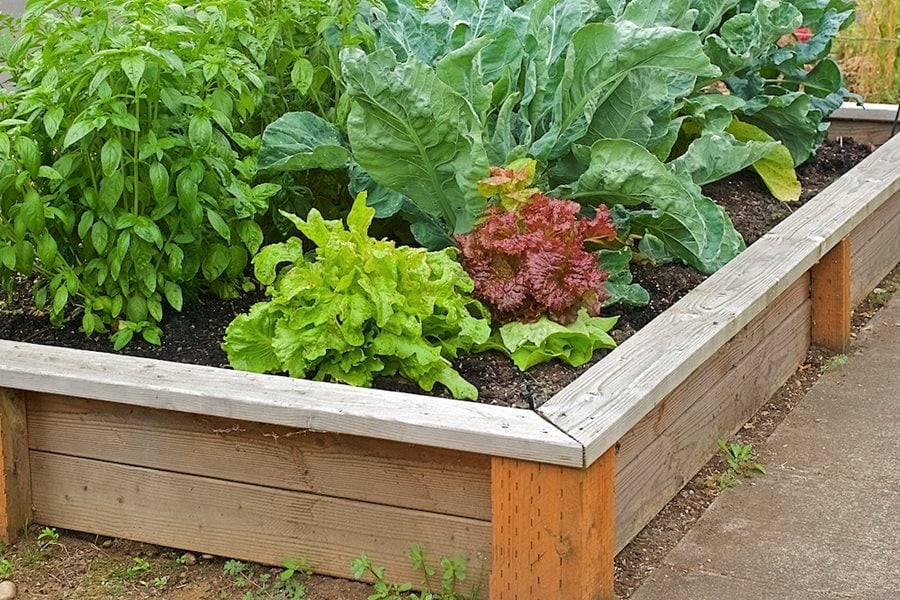
Raised beds are a great choice for beginning gardeners for their ease of maintenance and productivity. Photo by: Janet Loughrey.
Have you ever thought about growing your own vegetables, but don’t know where to start? If so, you’re not alone. Starting a vegetable garden doesn’t need to be daunting. By following some basic guidelines, you can be well on your way to harvesting your own lettuce or cucumbers for that summer-fresh salad.
Edible gardening has surged in popularity, with people seeking a deeper connection to their food and where it comes from. Homegrown vegetables fresh out the garden taste better than store-bought, and are often more nutritious. There’s great satisfaction in eating a ripe juicy tomato that you’ve grown yourself.
Step 1 - LEARN THE BASICS
All plants have basic needs for survival, including light, soil, water, and nutrients.
Light:
Most vegetables need at least 6 hours of full sun a day. Greens such as lettuce and spinach can tolerate partial shade. Root crops such as carrots and beets will do fine in a site that only receives morning sun.
Soil:
One of the most important elements to growing healthy vegetables is providing adequate soil. Native garden soils can be loamy, sandy, clay, or rocky. Vegetables need loose, well-draining soil that allows water and nutrients to be delivered efficiently to the root zone. Clay or compacted soil can cause standing water, which results in root rot and other diseases. Sandy soil allows water and nutrients to drain out too quickly.
Evaluate your existing soil with soil testing to determine what it needs. Organic amendments such as compost, manure, and worm castings will improve drainage, soil consistency, and provide nutrients. If your native soil is poor, consider adding raised beds and using a pre-made soil mix.
Water:
Vegetable plants grow their best with consistent watering. Water seedlings lightly and frequently to get their roots established. When plants get bigger, water less often and for longer to establish deeper roots. Too much water can result in root rot and fungal diseases. Not enough water can cause stunted growth and poor yields.
Plants will need more water during heat or dry spells. To determine if your plants need watering, stick your finger down into the soil. If it feels dry 2-4 inches down, then it’s time to water.
Nutrients:
All plants need nutrients to grow, with phosphorus, nitrogen, and potassium being the primary nutrients. Many pre-packaged fertilizers are especially formulated for vegetables to remove the guesswork of determining what your plants need.
Soil pH:
A plant’s ability to absorb nutrients depends on the level of acidity or alkalinity of the soil, known as pH. This is measured on a scale of 1-14, with 1 being most acidic, 14 being most alkaline, and 7 being neutral. Most vegetables do well in soil that falls in the neutral range, with some preferring more acid or alkaline.
Before you plant, use a test kit to determine your soil pH. Pre-made soil mixes should already be properly balanced for at least the first growing season. Adjust pH by adding lime to increase alkalinity, or sulphur to increase acidity.
Keep it organic:
Avoid chemical fertilizers and pest or disease controls so that food doesn’t become contaminated.
Step 2 - PICK A SITE
Choose a site:
You don’t need a big yard to grow your own vegetables. An area that receives at least 6 hours of full sun is all that’s needed to get started. Even if there’s no room for a dedicated plot, vegetables can be grown in containers on a deck or balcony, or in different parts of the yard. Place a tomato plant in a plastic tub on a patio, edge a pathway with lettuce, or grow peas in a hanging basket.
Designer: Margaret de Haas van Dorsser. Photo by: Janet Loughrey.
GARDEN BEDS
A vegetable plot can be planted in flat or mounded rows. Raised soil will warm up faster in spring and provide better drainage. Make rows that run north to south for best sun exposure and create pathways in between for easy access. Place taller plants such as corn and trellised pole beans on the north side so they don’t shade out smaller plants.
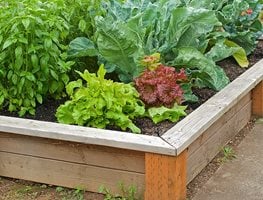
Photo by: Janet Loughrey.
RAISED BEDS
This is a great option for beginners, as raised beds are more efficient and manageable. Boxes made of wood, plastic, or metal are filled with a commercial soil mix. Advantages include: soil warms up faster, better drainage, higher yields and less maintenance. You can build beds yourself or choose a pre-made kit.
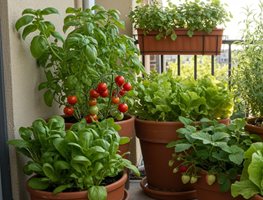
Photo by: Shutterstock.
CONTAINERS
For those with limited space, many vegetables can be grown in containers on a patio, deck, or balcony. Some, such as peas, lettuce, eggplant and dwarf tomatoes can even be grown in hanging baskets or upside-down planters. See below for container gardening tips.
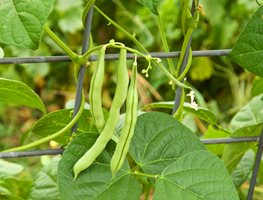
Photo by: Janet Loughrey.
GROW UP
Vertical gardening is another great way to maximize space and production. Vining plants such as peas, pole beans, cucumbers, zucchini and tomatoes can be grown up a trellis or other support, such as galvanized farm fencing.
Step 3 - DECIDE WHAT TO GROW
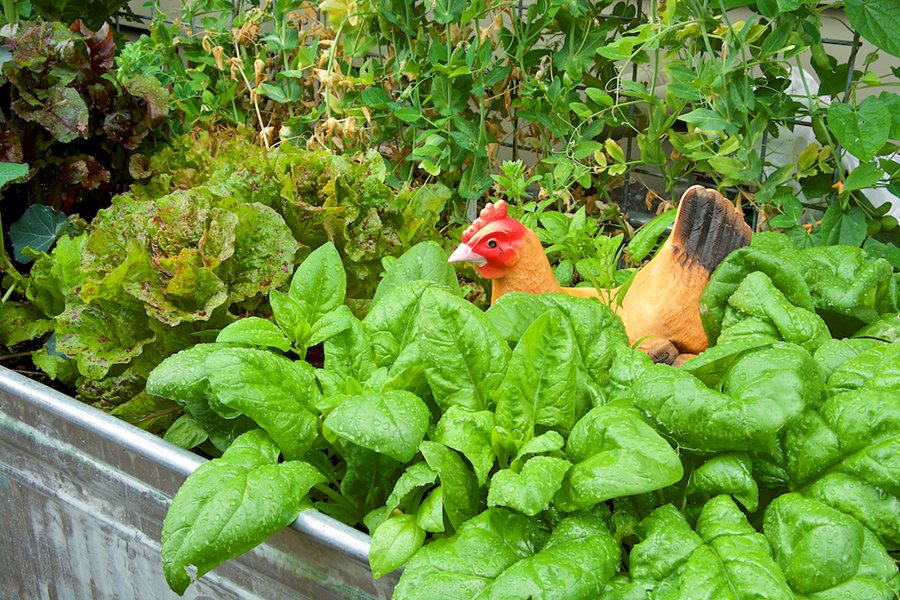
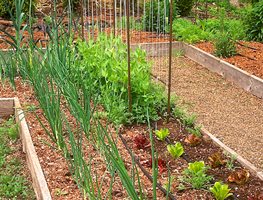
Cool season crops including lettuce, spinach and peas can be started in mid-spring. Designers: Craig Quirk and Larry Neill. Photo by: Janet Loughrey.
Grow what you like:
Make a list of vegetables that you like to eat. Consider how much you will actually consume, and whether you want to preserve any excess.
Start small:
Narrow your wish list down to a few varieties that are easiest to grow. Keep it simple so you don’t become overwhelmed.
Make a garden plan:
Draw up a plan on paper and make a schedule of when to plant. You can also include reminders of when to fertilize and replant in a garden planner.
Do your homework:
Familiarize yourself with the vegetables you want to grow, as well as what grows well together (called companion planting). There are many online resources as well as gardening books. Seed companies often include growing information on their websites. Your local garden center or university extension service can provide more specific information for your region.
Attract pollinators:
Plant flowers such as marigolds and nasturtiums nearby to attract pollinating insects. Pollination is crucial to the development of vegetables. While some plants are self-pollinating, others need bees and other insects to distribute pollen.
Step 4 - DETERMINE WHEN TO PLANT
Cool season vegetables:
Plant lettuce, radishes, peas, broccoli, and root vegetables such as beets, potatoes, and carrots in mid-spring. Some can be replanted in late summer for fall harvest. Cool season vegetables do best in temperatures of 40-75 degrees F. Wait until all danger of frost is past before planting outside. Young plants can be protected with a cloche or row cover during cold spells.
Warm season vegetables:
Plant tomatoes, peppers, corn, beans, eggplant, and cucumbers once the weather warms in late spring. Warm season varieties need average temperatures between 60-95 degrees F. Pay attention to “days to maturity,” which indicates how long it takes for vegetables to mature. With plants such as tomatoes that take longer to grow, make sure this time frame doesn't exceed your average first frost date in fall.
Successive planting:
For continuous harvest throughout the growing season, plant smaller amounts of quick growers such as lettuce, spinach, beets, radishes, and bush beans every 2-4 weeks. Cease planting cool weather crops during the hottest part of the summer and resume when the weather starts to cool off again.
Step 5 - START FROM SEEDS, STARTS, BULBS, OR TUBERS?
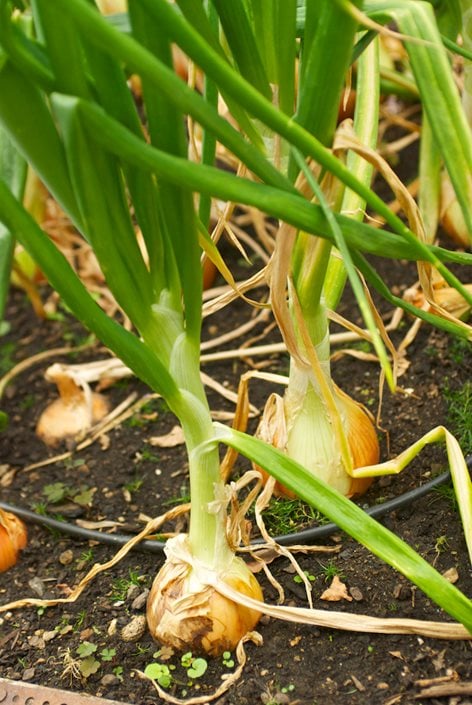
Onions can be grown from seed, but are easiest from bulbs. Photo by: Janet Loughrey.
Grow from seed:
Varieties such as lettuce, spinach, radish, beets, carrots, beans, and peas are easy to grow from seed and can be directly sown into the garden. Seeds germinate within a certain temperature range, which varies depending on the vegetable. Thin seedlings to the proper spacing to prevent overcrowding. Learn more about how to start from seeds.
Grow from starts:
Beginning gardeners will have best success with warm weather crops such as tomatoes, peppers, cucumbers, and squash when grown from starter plants bought at a garden center. Slow growing, cool-weather varieties such as broccoli, cauliflower, celery, and cabbage are also easier from starts.
Grow from bulbs or tubers:
Onions can be grown from seed, but are easiest from bulbs. Garlic is grown from cloves, while potatoes are produced from tubers.
Step 6 - CARE FOR YOUR VEGETABLE GARDEN
Keep it clean:
Keep planting areas free from weeds and other debris.
Mulch:
Place a layer of compost, straw, or leaf mulch around plants to suppress weeds and retain moisture for easier maintenance.
Pests and diseases:
When plants are given the right conditions, they are less susceptible to pests and diseases. Some varieties are more resistant than others. Problems vary with different types of vegetables and according to region. Research before you plant so you can look for symptoms and treat them early on.
Harvest:
Pick vegetables when ripe for peak flavor. Use as soon as possible, or freeze or can for later use.
Learn from your failures:
It’s easy to get discouraged if crops don’t do well. Even the most experienced gardeners have successes and failures. Every year is different, and some factors, such as weather are out of your control. Find out what went wrong and correct the problem for next year. Focus on your successes and look forward to the following year.
BONUS: CONTAINER GARDENING TIPS
Choose containers:
Nearly anything can become a container as long as it’s big enough, has adequate drainage, and is food safe. Most commonly used containers are plastic, wood, or ceramic. Make sure containers are at least 12 inches wide and deep, with adequate drainage holes in the bottom. Pots can be placed on risers for better drainage.
Soil:
Use a high quality organic potting mix, filling the container to an inch or two below the rim. Soil will settle somewhat over the growing season. Don’t use soil out of the garden, as it can become compacted, resulting in poor drainage.
Water:
Plants in containers dry out quicker than those in the ground, so need to be watered more often. Sun exposure, weather, humidity and container size all factor into how quickly the soil dries out. A general rule of thumb is to water every 2-3 days, or 1-2 days during hot spells. If soil is dry 1-2 inches below the surface, it’s time to water.
Fertilizer:
Because containers need to be watered more often, fertilizer leaches out more quickly. If your soil mix doesn’t contain fertilizer, add a slow-release organic granular fertilizer at the time of planting. Supplement with liquid fish emulsion or seaweed fertilizer every two weeks for an extra boost.
Best vegetables for containers:
Smaller greens such as leaf lettuce and spinach will grow quickly, allowing for successive crops. Other container choices include peas, radishes, carrots, potatoes, eggplant, peppers and tomatoes. Look for dwarf varieties that will stay more compact.
For more on container vegetable gardens, see: Container Vegetable Gardening Basics.
RELATED:
Raised Bed Gardens
Container Garden Ideas
Spring Vegetables
Fall Vegetables
Kitchen Garden Tips

