Success Secrets for Healthy Container Gardens
Karen Chapman has been designing beautiful container gardens since 1996 and offers these survival tips to keep them thriving.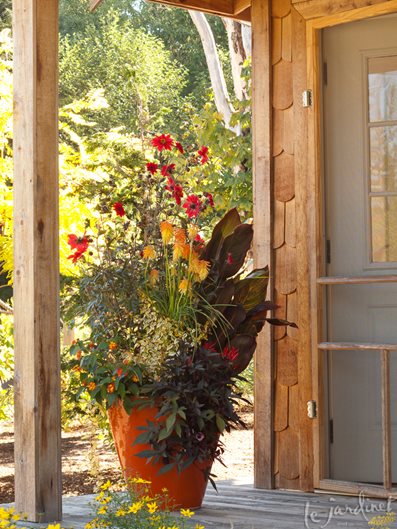
Photo by: Karen Chapman
OBSERVE YOUR PLANTS
“Everything is in close proximity in a container,” says Chapman. “So if one plant has a problem, you can pretty much guarantee the next one will get it.”
Observation is key. From examining plant leaves to checking your watering system, looking and listening to your plants can help save them.
“Talk to your plants,” she suggests. “Well OK, not talk exactly but do look at them-often. Look for slugs and snails, remove dead leaves, deal with insect problems, hone your watering and this should keep your containers looking good until fall. Remember, revival is easier than resurrection!”
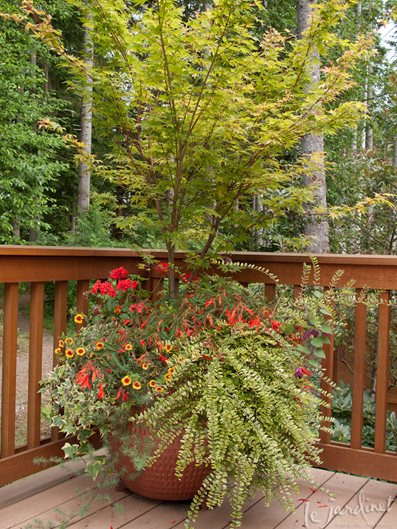
Photo by: Karen Chapman
USE A DRIP SYSTEM FOR WATERING
Though there are numerous types of drip systems available, Chapman recommends using a 1/4-inch completely porous soaker hose to adequately water containers.
Have a valve for every drip line. Valves are like a faucet so you can turn them on and off and you can regulate the water flow to every container on the line. Different containers will require different amounts of water and one line for everything just won’t work.
Expect your drip rate to be like the ticking of a clock. If it’s any faster, you run the risk of overwatering. If it’s slower, your plants will be underwatered.
On hot days, run the drip system twice a day. Run your drip system for 5 minutes on an average temperature day, one time per day. If it’s over 90-degrees, run it two times per day.
Troubleshoot your watering system. Sometimes a bit of sleuthing will reveal broken parts of a drip system. Go through your system, check your hose, pipes, valves, and manifold. Sometimes you have to look under the hood.
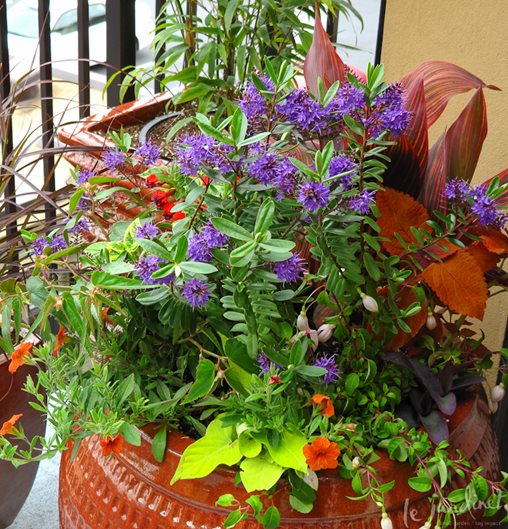
Photo by: Karen Chapman
REMOVE DEAD FLOWERS & DEBRIS
Not only does removing spent flowers make your container plants look better, it also helps to restore their energy and keep your soil healthy.
Remove dead flowers. Deadheading gives a plant more energy so it can continue to produce more flowers. I love using calibrachoa (which look like mini petunias) because they’re self-cleaning. Unlike a regular petunia where you have to get in, get sticky, and cut off the seed head, calibrachoa flowers wither and drop off on their own.
Clear your soil surface. The problem with dead flowers is that you end up with debris on the soil surface which will get wet and rot. The same happens with leaves. You have to look at your soil level, not just what’s on top. Pull off the gray and rotting leaves and dead flowers to keep your soil healthy.
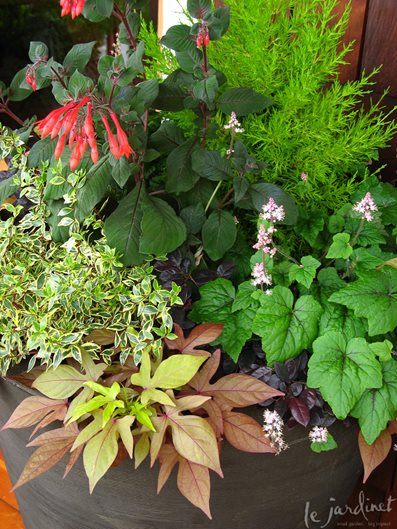
Photo by: Karen Chapman
CURE THE PEST PROBLEM
Slugs, snails, and even earwigs can do a lot of damage to plant leaves and flower buds.
Remove slugs. Slugs are easy to peel off and remove. Some people I know will remove the slugs and feed them to their chickens.
Recognize the pest. Slugs leave a slime trail, earwigs don’t, but the ‘munch factor’ looks the same. I like using Sluggo Plus, a product that kills both the earwigs and slugs. Sprinkle it on the soil, not on the leaves.
Kill all the generations of insects. I like to use organic products that contain pyrethrin as it kills insect eggs, larvae, and adults. Take Down (a plant-based insecticide) is the one I can usually find and is available ready to spray or as a concentrate.
Spray insecticide early in the a.m., and spray directly on the insect if possible. Give the top of the leaf and under the leaf a good drenching. Don’t spray lady bugs, bees, etc.
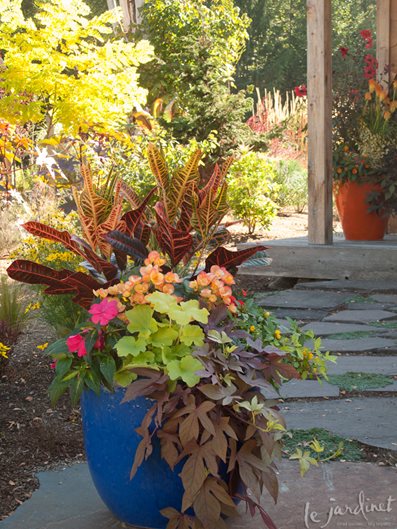
Photo by: Karen Chapman
CHOOSE THE RIGHT CONTAINER
The type of container you select will have a big impact on the success of your plants.
Container size is more important than shape. The larger the container, the better. They’re easier to manage and you can water less often.
Use lightweight, synthetic fiberglass or ceramic containers. My material of choice is ceramic containers because they are gorgeous and come in a variety of colors and they perform better. They have thick walls which hold in moisture, they are frost resistant, and they don’t absorb water.
Avoid terra cotta. The biggest problem is that terra cotta is porous and it leaches vital water that is necessary for plant growth. Also, in the winter it freezes and cracks. In the summer, it absorbs and takes away water from the plants.
Avoid metal containers. Because they absorb heat, metal containers can become too warm for proper plant growth and run the risk of scorching your plants. If your heart is set on a metal container, use it in the shade, but even then, it can be too limiting.
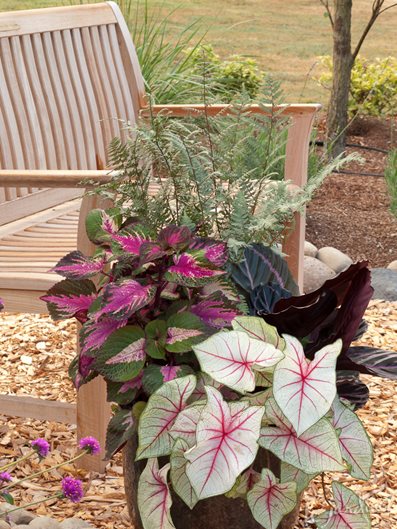
Photo by: Karen Chapman
PREPARE YOUR CONTAINER CORRECTLY
The container is the home of your plants and it needs proper attention and preparation.
Use 5/8-inch drainage holes. In every pot, I usually drill in drainage holes, and I’ve found that 5/8-inch is an ideal diameter. Any smaller and you get inadequate drainage. Any larger, and too much soil falls through. For an average 3 cubic foot container, I suggest two drainage holes.
Raise containers off the ground. Your container should not sit flat on the surface or it won’t drain properly. Whether you use pot feet, risers, or a lump of wood, a container should be lifted 1/4-1/2-inch off the ground.
Use saucers to eliminate staining concerns, not to hold water. A container is not lifted enough when it’s sitting in a saucer which can cause plant roots to rot. If you use a saucer, raise the container so it can get some air space, and always remove excess water out of the saucer. I usually recommend saucers to help alleviate staining concerns from the container water dripping onto outdoor surfaces.