


Growing Microgreens
Expert tips about where and how to grow microgreens in your own garden.Colin McCrate of Seattle Urban Farm Company shares a few quick tips for getting started with microgreens.
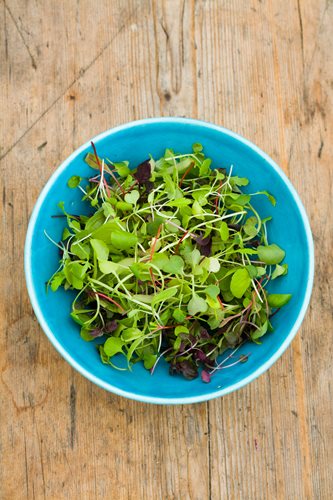
Photo by: Jonathan Buckley/Gap Photos.
Use Microgreen Seed.
Places like Johnny’s Selected Seeds have mixes and packets of seeds specifically for growing as microgreens. Then as you learn more you can use regular seeds. I get a lot of mine from Fedco Seeds.
Pick Easy Varieties.
I’m drawn to mustards. They have a powerful flavor that I like, plus they’re one of the easiest types to grow. I also like growing cilantro microgreens (the ‘Santo’ variety). It takes a little longer to be usable (up to 3 weeks) but I cook Mexican food a lot so they’re wonderful to have.
Choose the Right Location.
Microgreens should not be exposed to freezing temperatures. If you keep them indoors, make sure it’s a spot with a little moisture and ventilation. If you need to grow them outside, grow them in a greenhouse that’s heated—or use heating pads. In locations with temperatures that rarely reach below freezing, an unheated greenhouse or cold frame should work.
Greenhouses Make It Easy.
I grow microgreens in a small 6- by 10-foot greenhouse. I have it in a full sun location and it works really well. A cold frame would also work well.
Avoid Humidity Tents.
Some people use tents to speed up germination, which is fine. But once the microgreens sprout, I don’t use them. If you keep the greenhouse warm and the soil moist, a tent isn’t needed. There’s also a greater risk of burning the greens if the weather warms up suddenly.
Get Good Seed Coverage.
Make sure the seed coverage of each planting cell is good. This way the microgreens grow in thick and support each other.
Ensure Soil Contact.
After laying down seed with good coverage, I take an unused tray and press the seeds down softly but firmly into the soil. But I’m sure not to bury the seeds in the soil. If the seeds get covered, the spouts grow with soil on the leaves, which is difficult to remove later.
Water from the Bottom.
When you first plant the seeds it’s OK to give them a light sprinkling from above to saturate the soil. Top water until they start to germinate, but from then on use bottom watering (place a larger tray below the tray with soil that you’ve put seed in). After 20 minutes, check the absorption and pour any remaining water out. With enough water, the soil should look and feel evenly moist. Bottom watering will reduce the chances of gray mold and damping off, a disease in seedlings caused by excessively wet growing conditions. These diseases are exacerbated by lack of air circulation, so a fan or proper ventilation is also a good idea.
This bonus content accompanies “Grow Your Own Superfood”—an article about the benefits of microgreens—in the Winter 2017 issue of Garden Design magazine.